More and more homeowners are showing interest in vinyl plank flooring because it is aesthetically pleasing, remarkably durable, and easy to install. With the right tools and materials, anyone can install vinyl plank flooring.
Many homeowners hire professionals and spend a good amount of money just for installation. It does not have to be that way.
In this post, we will explain how to install vinyl plank flooring, and this guide is for people with minimal technical skills. Hopefully, here you will find some simple and easy-to-follow instructions.
Tools and Materials You Need
Make sure you have access to at least the necessary things you are going to need for this DIY project. Here is a pretty comprehensive list:
| Tools | Materials |
|
|
How to Install Vinyl Plank Flooring
You can install vinyl plank flooring in bedrooms, living rooms, kitchens, and bathrooms. No matter where you are installing it, follow these step-by-step instructions:
Step 1: Plan the Layout
First of all, plan a visually appealing layout for the flooring. In general, you should start from the most prominently visible wall of the room and then move toward the door.
Unless the room is a perfect square, the last row of the planks will be uneven. However, they will look relatively even if the walls have shoe moldings or baseboards.
Step 2: Remove the Existing Baseboards
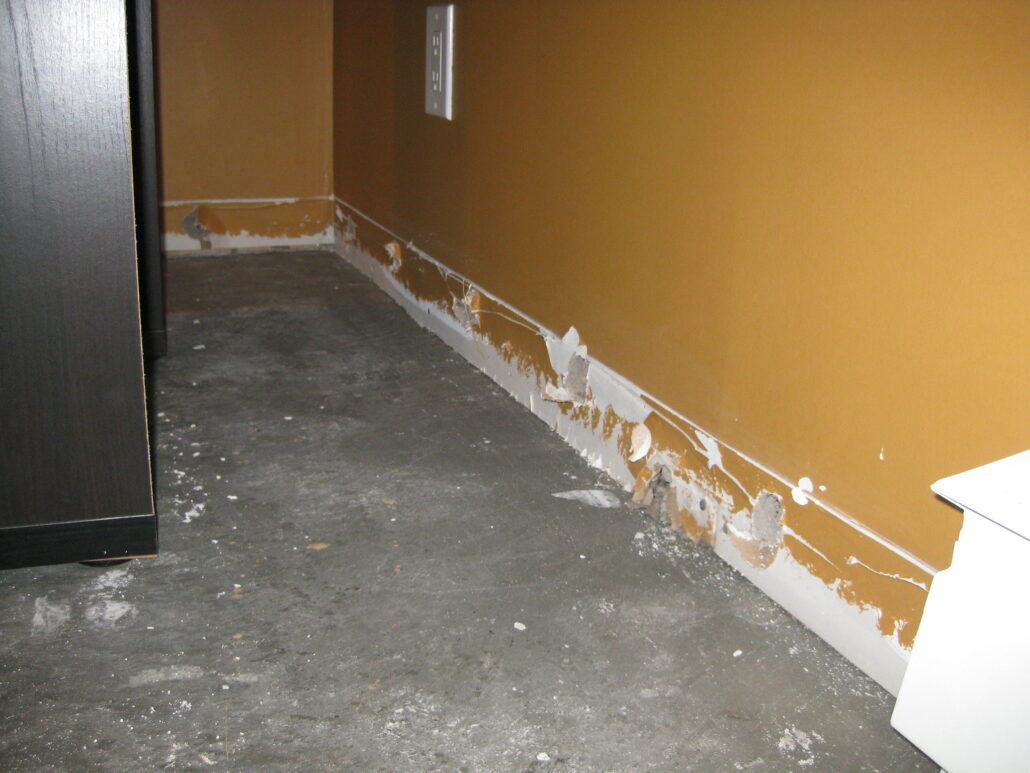
To make the process easier, remove base shoe moldings, baseboards, case moldings, and even doors. It is pretty easy to remove door case moldings.
There may be protrusions or door trim that you cannot remove or do not want to remove. If that is the case, consider cutting the vinyl planks to fit around the protrusions. You can use a flat pry bar to pry off trim moldings. Use pliers to remove the trim from the brads. Re-install the trim later—if it is still usable after removal.
Step 3: Prepare Your Floor
Maybe you are wondering how to lay vinyl plank flooring over your existing flooring or whether you can do it. Yes, you can, but before you do that, sand down the high spots if there are any. The underlayment must be flat and smooth.
If your concrete subfloor has cracks, use a concrete patcher to fill them. And if the underlayment is a plywood subfloor, make sure there are no depressions. Remove all contaminants and make sure the substrate is clean, smooth, level, and dry.
Step 4: Apply Spray Adhesive
Use a vinyl spray adhesive that adheres to the vinyl planks to themselves and the substrate. Sprayidea 31 is a non-toxic adhesive spray for vinyl planks. Shake the adhesive well before application. If the nozzle is clogged, use alcohol or other solvents to unclog the nozzle. Spray the adhesive 15-30 cm from the floor.
Avoid overlapping spray, and make sure the application is even. When you use this adhesive, the room temperature should be between 15°C and 35°C.
Ambient conditions determine the flash time, but typically, 15 minutes may be enough. Touch the adhesive applied to the substrate. If the sprayed adhesive does not transfer to your fingertip, your substrate is ready.
Step 5: Test-Fit a Row
Ideally, the planks should be of equal lengths. Lay the first row and see how it fits. Lay a full-sized plank and if needed, cut it at the end. Leave a gap of ¼ inch at the ends and the wall. You can place spacers in the blanks later.
Step 6: Cut the Planks
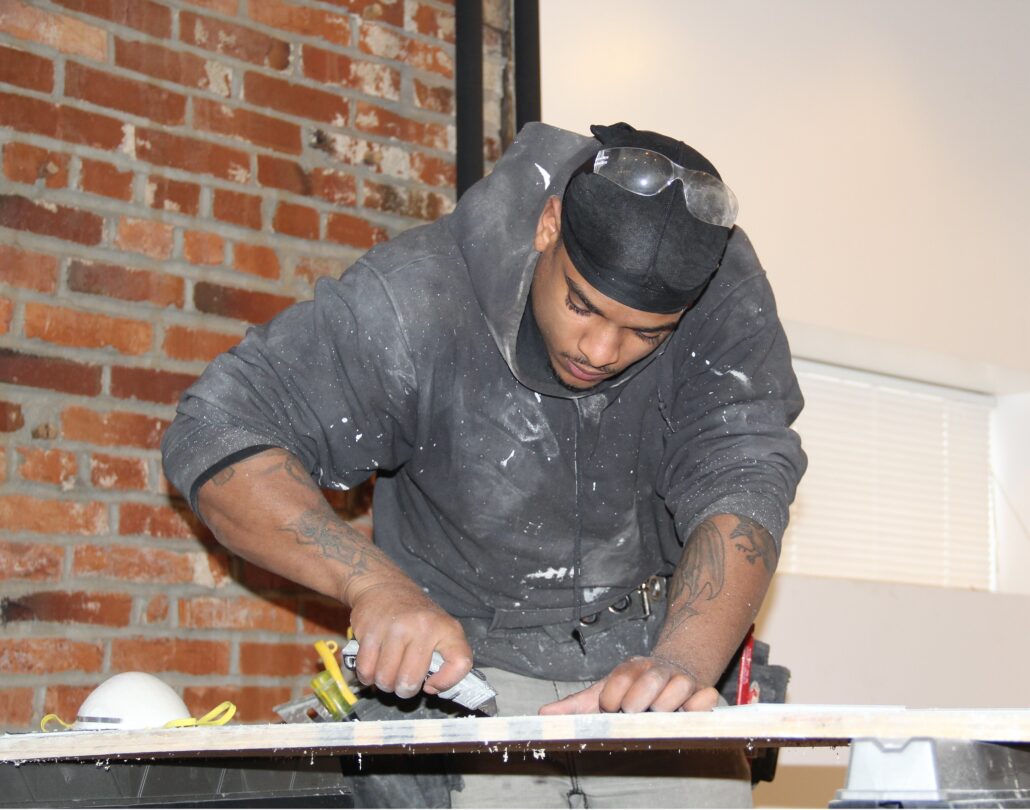
Score the planks partially with a utility knife and a Carpenter’s square. Do not attempt to cut a plank in one pass. Instead, lightly run the knife several times across the plank. Be careful when cutting vinyl planks because they tend to be slippery.
Then flip the plank over. It will snap off. If it does not snap off, run the utility knife slightly one more time. There is an alternative way: cut the plank with a fine-toothed hand saw.
Step 7: Connect the Planks
To fit all the planks nicely, you may need to trim the ones that go into the last row adjacent to the wall. Make sure there is a gap of ¼ inch between the wall and the planks. Use a long straightedge and a utility knife to cut the planks lengthwise.
Join the planks the same way you did in the previous rows. To tug the last plank—which may be narrower than the other rows—you can use a drawbar tool.
Step 8: Cut the Planks for Floor Ducts and Door Frames
If there are obstructions and protrusions, use heavy-duty shop scissors or tin snips to cut the planks and snip them to their desired shapes.
Step 9: Fit Planks around Obstructions and Door Frames
Once you have made the cutouts, fit the planks around the obstructions like protrusions and door frames. Vinyl planks are remarkably flexible, so you can easily bend and adjust them. To do that, however, you may need to disassemble other planks.
Step 10: Fit the Final Row of Planks
Trim the final row of planks lengthwise, and fit it. Again, keep a gap of ¼ inch between the wall and the planks.
Step 11: Re-install the Baseboards
Use a pneumatic brad nailer to reattach the trim moldings. Avoid using a hammer because it can damage the trim.
Additional Tips for Installing Vinyl Plank Flooring
- Poor quality underlayment and substrates can cause the planks to split, warm or separate. Start installing the planks only once you have prepared the floor or if it is already in good shape. Apply the vinyl flooring adhesive spray about 15 minutes before you install the planks.
- Excess cold or heat can cause the planks to constrict or expand. It is best to keep the vinyl planks in the room for a day or two before you install them. This process is called acclimatization. Use a pneumatic brad nailer to reattach the trim moldings. Avoid using a hammer because it can damage the trim.
How Long Does It Take to Install Vinyl Plank Flooring?
For a professional, installing vinyl plank flooring in a 12ft x 15ft room usually takes less than a day. If you want to install the planks in multiple rooms, a professional will need multiple days to finish the job.
However, the project will take remarkably less time if the condition of the floor is good. If you take it as a DIY project, the time to finish it depends on the floor condition and your skill level. Once you have figured out how to install vinyl plank flooring, you will take less time to complete your next project.
How Much Does It Cost to Install Vinyl Plank Flooring?
The cost can range from $2 to $10 per square foot. If you hire a professional, they will charge $1 – $4 per square foot for installation. Some professionals charge around $30 per hour.
The prices of vinyl planks depend on their quality. Factors such as the size of your room and the quality of the planks you choose will determine the exact cost of your project.
Wrapping Up
So, that is how to install vinyl plank flooring. While the process is pretty straightforward, you may find it tricky if you are going to do it for the first time.
Installing the planks is the easy part of the process. Be ready to spend some time preparing the floor. Like all DIY projects, you will understand the nuances of this process when you dive into action. We hope you are now ready to get started.