Whether you are a professional craftsperson or DIY enthusiast with a passion for stenciling, this post is for you. Stenciling can be messy unless you have the right tools. When it comes to stenciling without unsightly bleed, spray adhesive can be immensely useful.
While there are spray adhesives specifically designed for stenciling, not all products do the job equally well. Read on to learn more about stencil spray adhesives so that you can make an informed decision.
Why do you need spray adhesive for stenciling?
Whether you are using stripe stencil or any other type of stencil, use spray adhesive to stabilize the stencil. It prevents the stencil from moving and allows you to work in layers with a roller or dry brush. As you paint at the edges, the process does not cause bleeding.
Of course, you can use sticky tape instead, but it does not offer the same level of convenience as spray adhesive. Stencil spray adhesive is designed specifically for this job, so it does not cause the stencil to stick to the wall or chalkboard too tightly.
Factors to consider when choosing stencil spray adhesive
When buying spray adhesive for stenciling, be sure to choose a product that is specifically designed for stenciling. In addition, you have to consider the following factors:
Formulation
The spray adhesive you use for stenciling should dry fast and offer instant bonding. Its effect time should not be more than a minute. Ideally, the spray pattern should be mist. And of course, the adhesive must be colorless.
Environment Friendliness
Spray adhesives often contain toxic ingredients that are harmful for humans. However, there are some brands that produce non-toxic and environmentally friendly adhesives. Because stenciling is mostly an indoor operation, be sure to choose a non-toxic adhesive.
Usability
Stencil spray adhesive comes in a canister, which is pretty easy to use. However, depending on the brand, the design of the canister may vary. Choose a design that makes it easy to hold the canister and apply the adhesive.
How to use spray adhesive for stenciling
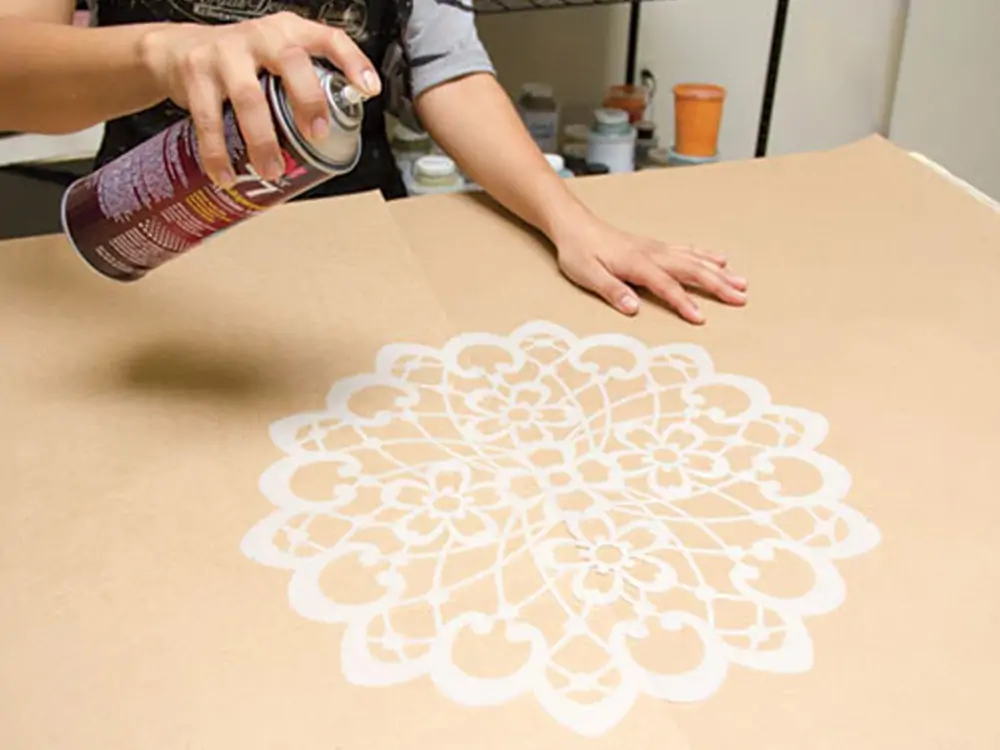
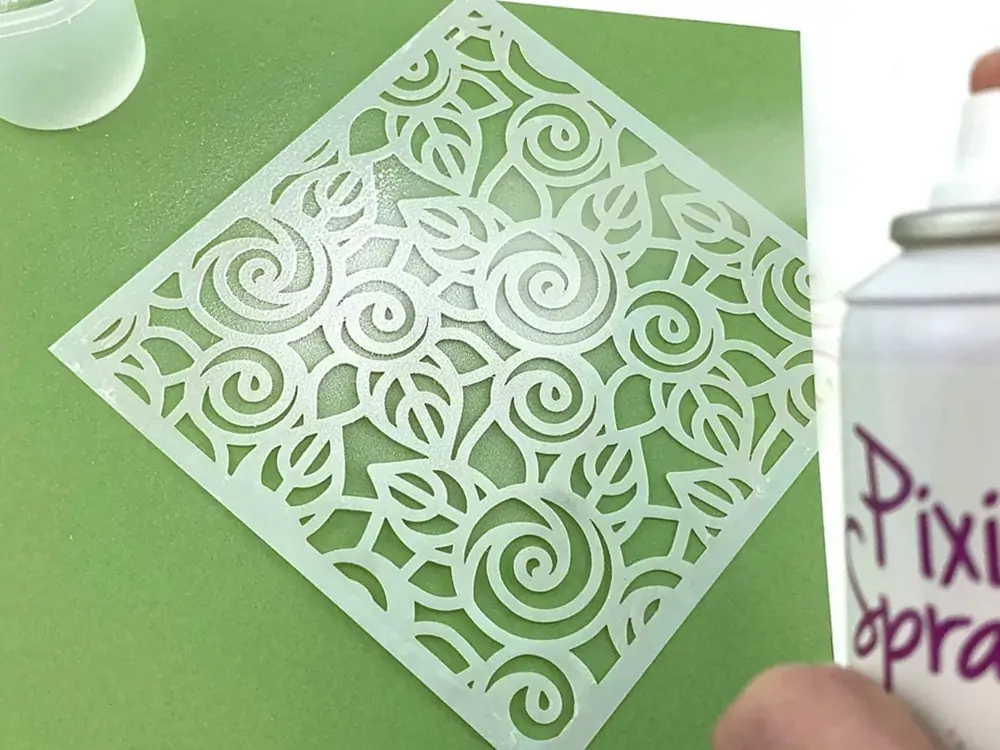
The success of your project largely depends on the way you apply stencil spray adhesive. That is true for almost all types of stenciling, including stencil drawing and graffiti stenciling. Using spray adhesive for stenciling may seem intuitive and straightforward, but there are a few things to keep in mind. Turn the stencil over so that it is upside down. You have to apply the stencil adhesive on the back side.
Once you have laid the stencil on a tarp or cardboard, wave the mist back and forth–4 to 5 times. Cover the surface lightly; avoid overspraying. To dry the adhesive quickly, you can wave the stencil in the air for a minute or so.
Then touch the stencil with your fingers. If you feel the tackiness but your fingers do not get wet, you can fix the stencil to the wall. The time the glue takes to get tacky depends on the brand of the glue.
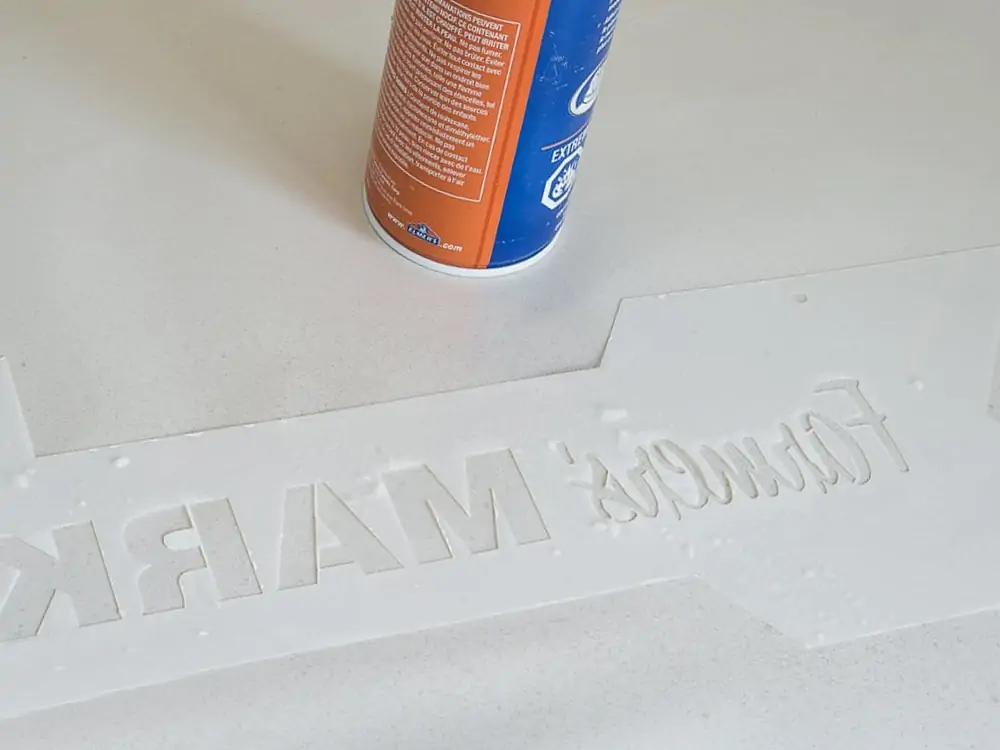
In most cases, stencils are used multiple times, so it is important to learn how to clean stencils after use. You will have to remove residual glue that may be left on your stencil. Use an old credit card to plastic scraper to scrape the excess adhesive off.
Some professionals use glue remover for this purpose. A piece of cloth dampened with alcohol, or a paper towel can be a good alternative.
Rub the paper towel or dampened cloth onto the stencil, gently. Just pay attention to the areas with excessive residual glue. And keep repeating the process until you have entirely wiped off the glue.
Rubbing alcohol, or warm water with soap can be used to remove the last trace of the residue. Before you store the stencil for future use, be sure to rinse and dry it.
The key is to choose a high-quality and user-friendly spray adhesive in the first place. Sprayidea 35 or a similar high end product will make the job easy and enjoyable for you. We particularly recommend this stencil because it offers a good balance of quality and price.
4 tips for stenciling without bleed
When it comes to stenciling, the key to perfection is to figure out how to get the job done neatly. Here is how to stencil without bleeding:
1. Stabilize your stencil
Secure the stencil with either spray adhesive or painter’s tape, or both. The goal is to prevent the stencil from moving as you apply the paint. And if the stencil stays in place, the paint will not bleed underneath.
If there’s residue from the stencil adhesive, use a paper towel to remove it. If needed, you can also use a cleaning solution for this purpose.
2. Paint in layers
As you apply the paint, offload it. Remove the excess amount on a rag or paper towel. When you touch the brush it should feel almost dry. Known as dry brushing, this method is widely adopted by professionals.
3. Maintain an up-and-down motion
Known as the tap tap tap method, this up-and-down motion refers to working towards the center as you apply the paint. This rule, however, does not apply when working with a foam roller. But for the best result, always consider starting from the edges.
4. Do not lift the stencil too early
This is a cardinal rule for anyone wondering how to make stencils. Resist the temptation to peek and see before you have finished applying the paint. Before you lift the stencil, allow the paint to dry. It will take just a few minutes. Lifting the stencil too early can lead to bleeding.
FAQ
Where should I ideally start and finish?
For wall texture stencils, you have to identify the wall that is visually important to you. Ideally, you should start with the corner of the wall. Depending on your particular situation, you may find it more convenient to start in the center instead. The design should end where the wall area is relatively less conspicuous.
How can I tackle the corners?
When you reach the corner, your stencil should have spray adhesive that is tacky but not wet. Press on that side of the stencil, and it will flop off. You can use some tape to hinge the stencil somewhere on the wall. When you can tackle the corners, you have pretty much figured out how to use stencil.
What is the best spray adhesive for stenciling?
When buying spray adhesive for stenciling, be sure to choose a product that is specifically designed for this purpose. Sprayidea 35 is among the best stencil spray adhesives available on the market. This stencil spray adhesive works on fabric, wood, paper, cardboard, foil, cork, wool, and more!
Conclusion
Stenciling is an art form that can unleash your inner artist, but the process can be messy if you are not equipped with the right tools and materials. Even if you are using painter’s tape, be sure to invest in stencil spray adhesive.
But choosing the right adhesive is just one part of the puzzle. You also have to apply it correctly, which requires a little bit of practice. We hope now you are informed enough to explore stenciling ideas and jump into action.